APPLIANCE SERVICES
Installing or Replacing a Garbage Disposal?
We've got you covered, with and Professional Service
Call for immediate, friendly and professional service today!

Contact us for professional garbage disposal installation service.
We ensure the disposal meets local plumbing and electrical codes. We verify the installation is safe, leak-free, and built to last.
Here’s how our installation process typically works:

Initial Assessment
Inspect the existing sink and plumbing, of check the sink flange, drain configuration, P-trap, and dishwasher connection. Check electrical availability ensuring a nearby grounded outlet or hardwiring option is available, with a functioning wall switch. Evaluate the workspace to confirm there’s enough clearance under the sink to accommodate the disposal and allow for safe installation.
Prepare the Work Area
Turn off power to the circuit at the breaker. Place a towel or small bucket under the sink to catch residual water from drain removal. Clear out old piping or an old disposal if present.

Install the Sink Flange and Mounting Assembly
Apply plumber’s putty around the new sink flange. Insert the flange into the drain opening from above the sink. Secure the mounting ring and gasket underneath with a snap ring, ensuring a tight, leak-free seal. Tighten screws evenly on the mounting assembly to seat the flange properly.

Mount the Disposal Unit
Align the disposal with the mounting ring and twist it into place until it locks. Support the disposal while tightening the mounting collar to ensure it’s secure and level.

Connect the Plumbing
Reattach the drain trap (P-trap) and discharge pipe. Connect the dishwasher inlet, if applicable, ensuring the knockout plug is removed. Use new gaskets or washers to prevent leaks at every joint. Check that all pipes have proper slope and alignment to ensure efficient draining.
Connect the Power
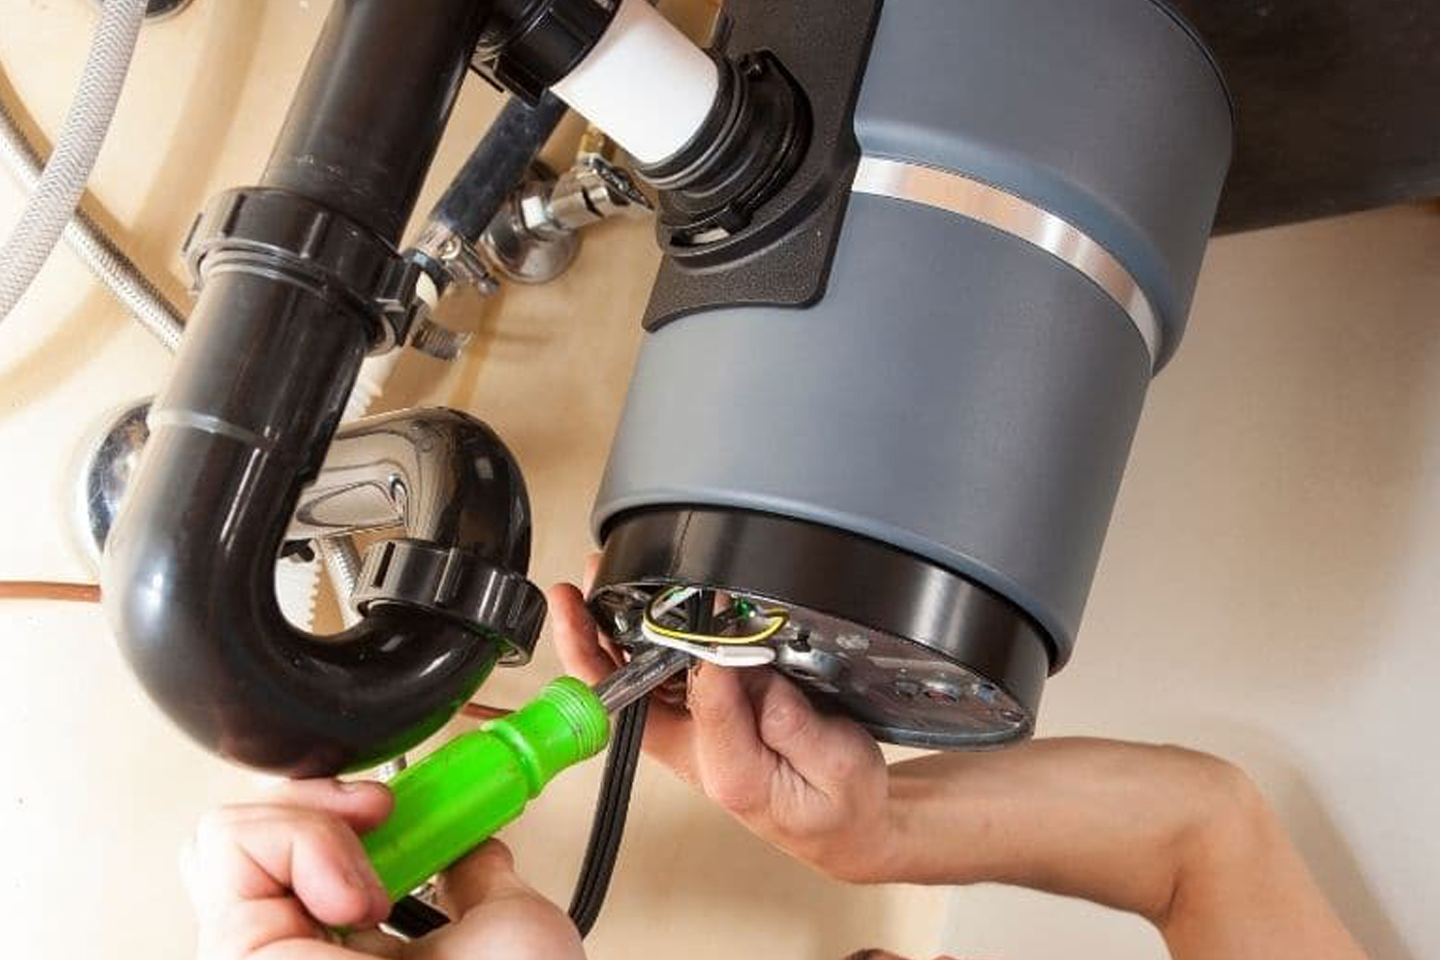
If the unit uses a cord, the plumber attaching a power cord (if not pre-installed), wiring it correctly to the unit using a screwdriver and wire nuts. If hardwired, the plumber connects wiring from the wall using approved connectors and ensure it’s grounded. All electrical work is performed with the circuit off and follows local code requirements.

Test the Installation
Restore power and test the disposal using the wall switch. Run water into the sink and turn on the disposal to check operation. Inspect for leaks at the flange, drain connections, and dishwasher inlet. Listen for excessive vibration or noise, which could indicate improper leveling.

Final Check and Cleanup
Ensure the unit is level and stable. Wipe down the sink and under-sink area. Provide homeowner tips of what to grind (soft food waste), what not to grind (bones, grease, fibrous materials) and remind to run cold water during use and briefly after.