APPLIANCE SERVICES
Installing a New Washing Machine?
We've got you covered, with and Professional Service
Call for immediate, friendly and professional service today!
Contact us to hookup your new washing machine.
When Fast Pluming and Drain installs a new washing machine, we not only connect the appliance but also check for potential plumbing issues that could lead to leaks, inefficiency, or damage.
Here’s a step-by-step breakdown:
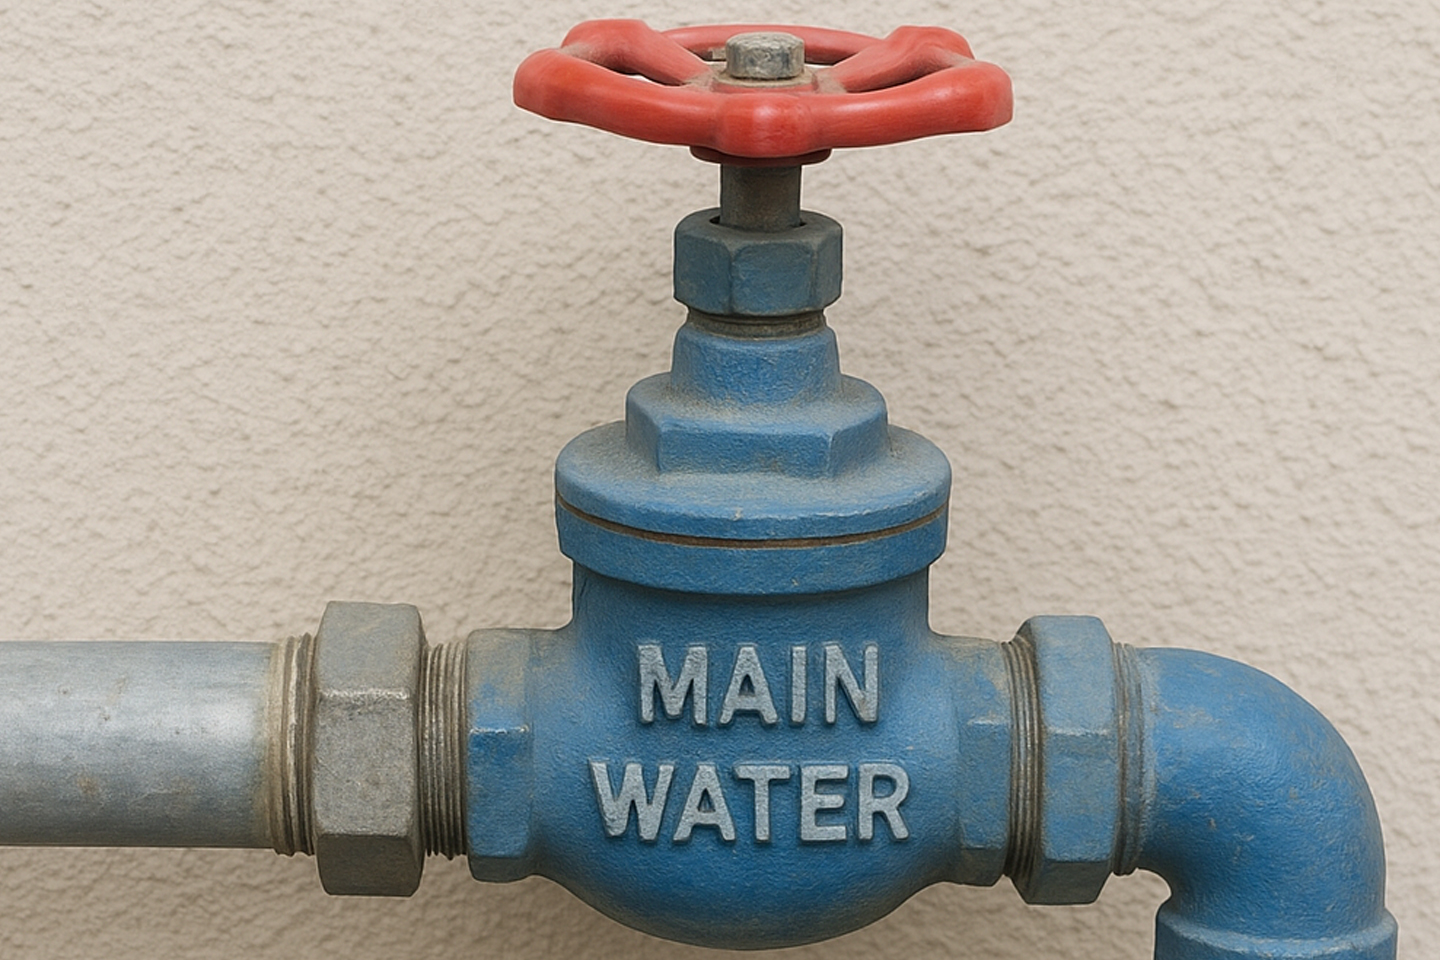
Pre-Installation Inspection
Check Existing Hookups of inspect the hot and cold water supply valves, drain line, and electrical outlet for wear, corrosion, or code violations. Assess the Area ensuring the floor is level and stable enough to support the washer without shaking. Water Shutoff of turning off water at the main valve or local supply valves to avoid flooding during connection.
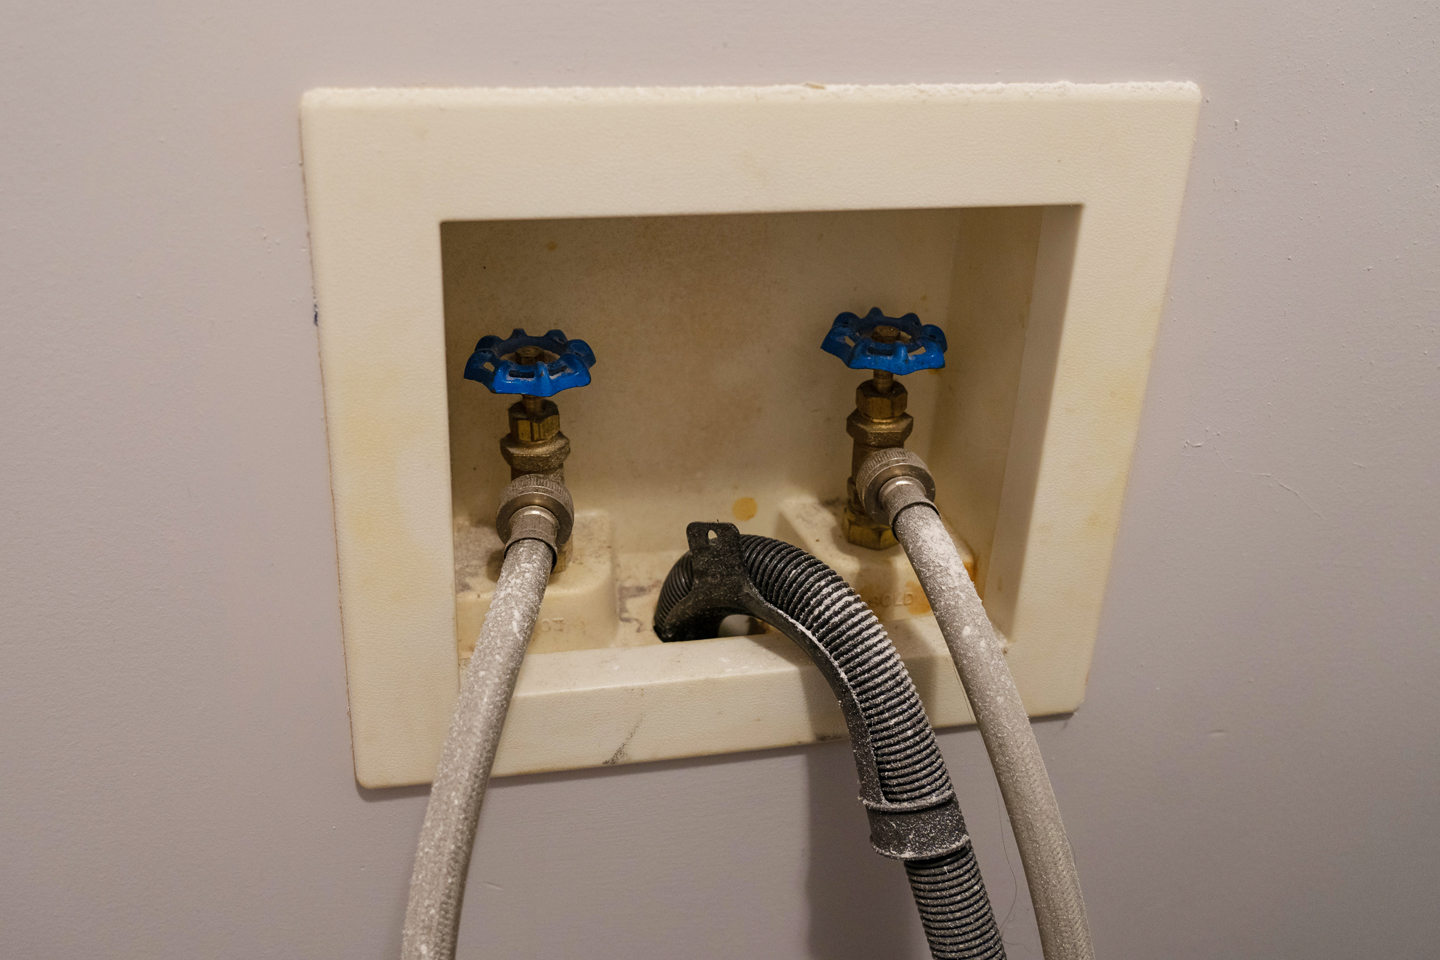
Plumbing Prep
Replace or Repair Valves (if needed): If the shutoff valves are old or leaky, the plumber will replace them with new quarter-turn ball valves. Secure Drain Line to make sure the standpipe or utility sink connection is properly vented, secured, and at the correct height to prevent backflow or siphoning. Install Hammer Arrestors (optional but recommended): These prevent noisy pipe banging (water hammer) when the washer shuts off suddenly.
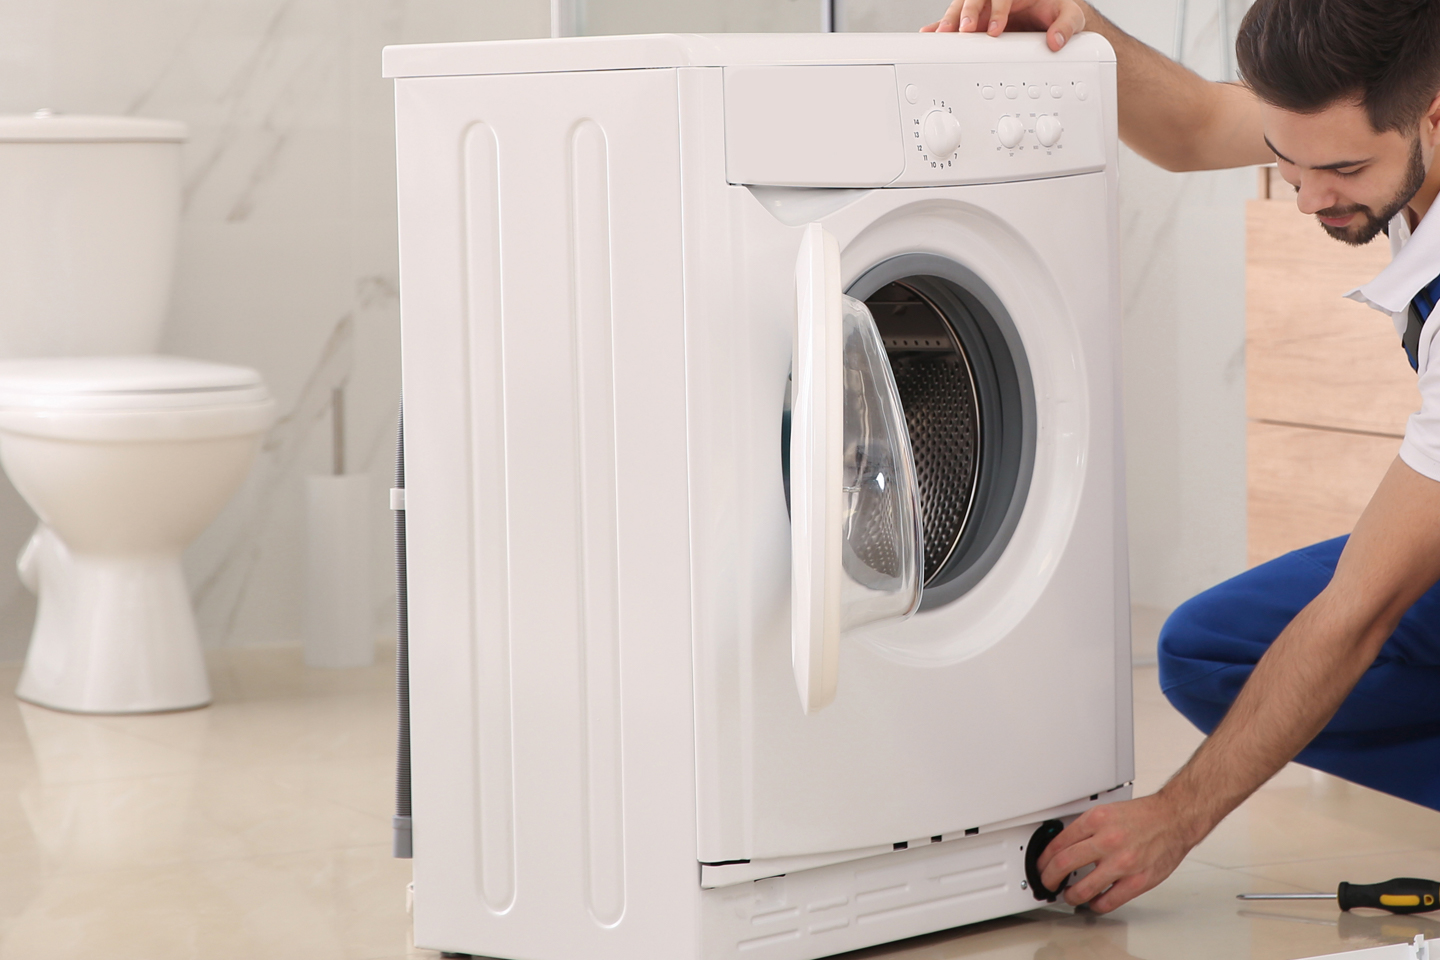
Washer Installation
Unbox and Inspect Washer to ensure it wasn’t damaged in transit. Remove Shipping Bolts: If the washer is front-loading, these bolts must be removed to prevent damage during use. Position the Washer to carefully slide the unit into place, allowing room behind for hose connections.

Connect Water Supply
Attach Hoses to Washer with stainless steel braided hoses, not rubber (to prevent future bursting). Connect to Shutoff Valves by hand-tighten, then use pliers to snug them slightly. Apply Teflon tape if needed. Check for Leaks by turning on the water slowly and inspect connections.
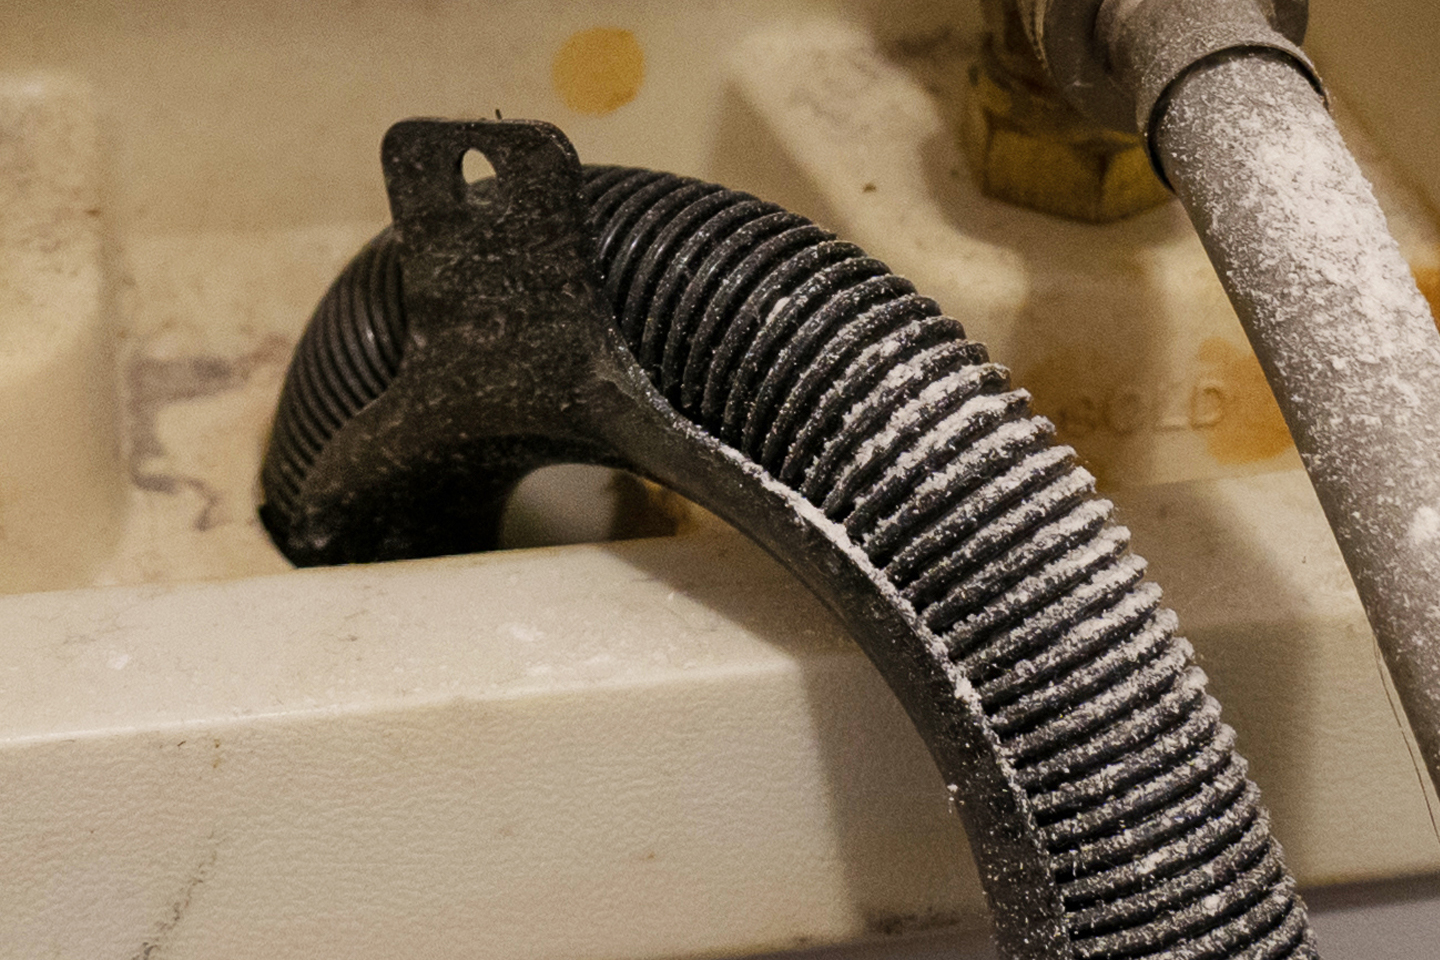
Drain Line Connection Insert Drain Hose
Securing the hose into the standpipe or utility sink, using a zip tie or bracket to hold it in place. Confirm Proper Height and Air Gap: Prevents siphoning and ensures smooth drainage.

Electrical Setup
Plug It In with ensuring the washer is connected to a grounded 3-prong outlet. GFCI Protection Check (if required): Some newer installations require a GFCI outlet by code.
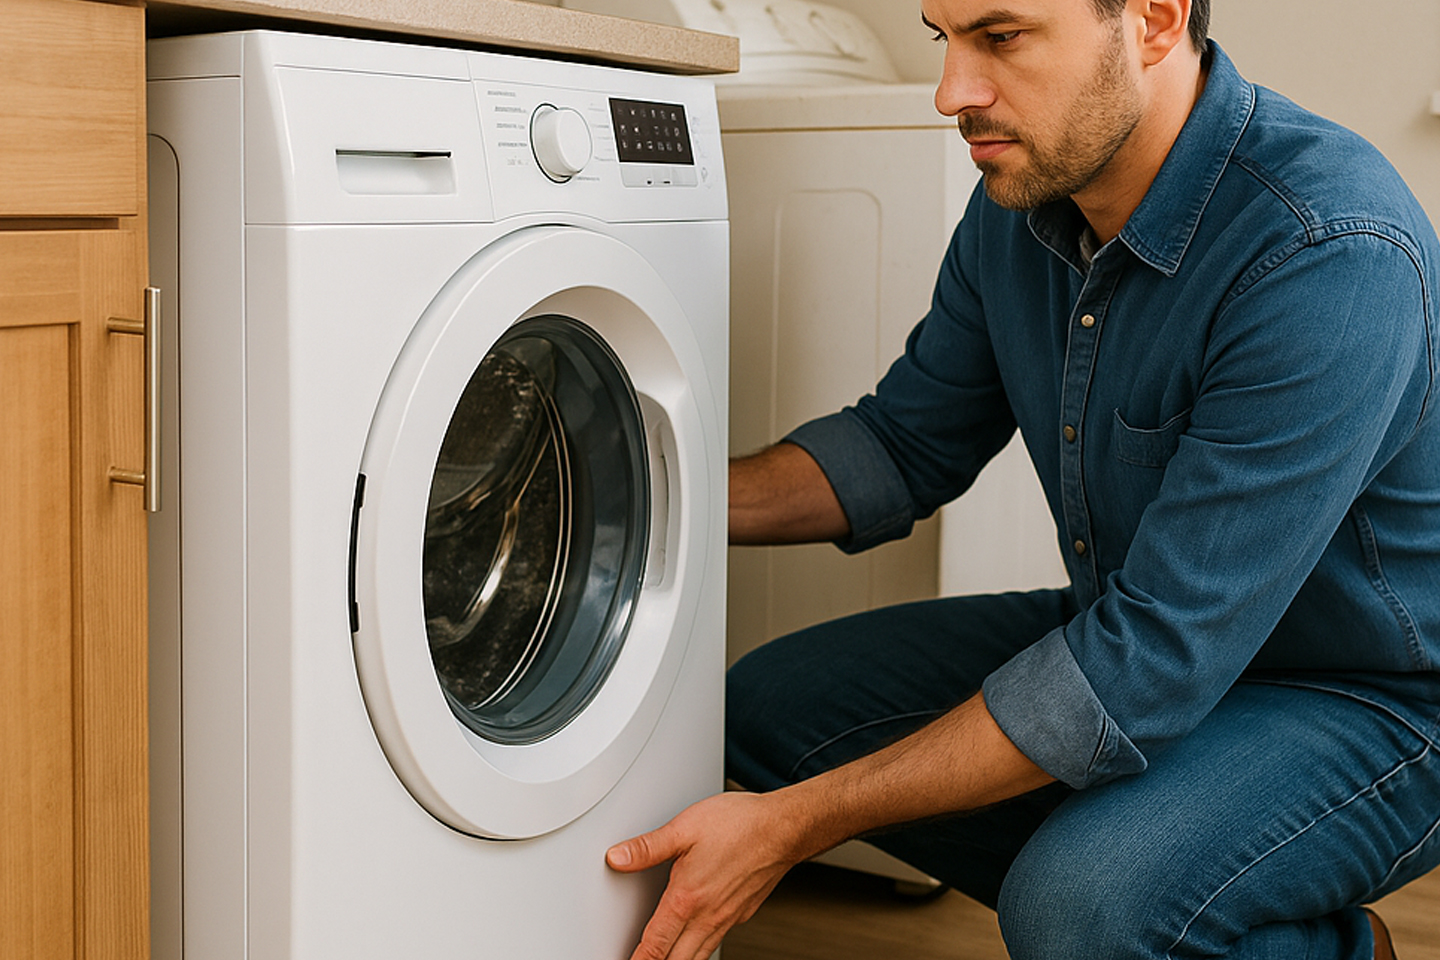
Level and Test the Washer
Adjust the Feet: Use a level and adjust the washer’s feet to make sure it’s completely level front to back and side to side. This prevents vibration and wear. Run a Short Wash Cycle and watching for leaks, proper water fill, draining, and spinning. Final Adjustments by checking noise levels, ensure no vibration, and make small adjustments if needed.

Final Wrap-Up Cleanup
Remove packaging and old hoses. User Tips: We provide quick advice on maintenance (e.g., cleaning lint filters, using proper detergent, or shutting off valves when away).
