FIXTURES
Bedet Installation? No Problem.
We've got you covered, with and Professional Service
Call for immediate, friendly and professional service today!
Contact us when you’re looking to add a bedet to your bathroom.
Fast Plumbing and Drain’s process to install an aftermarket bidet kit is precise and ensures a safe, leak-free, and code-compliant setup.
Here’s how we typically go about it:

Pre-Installation Inspection
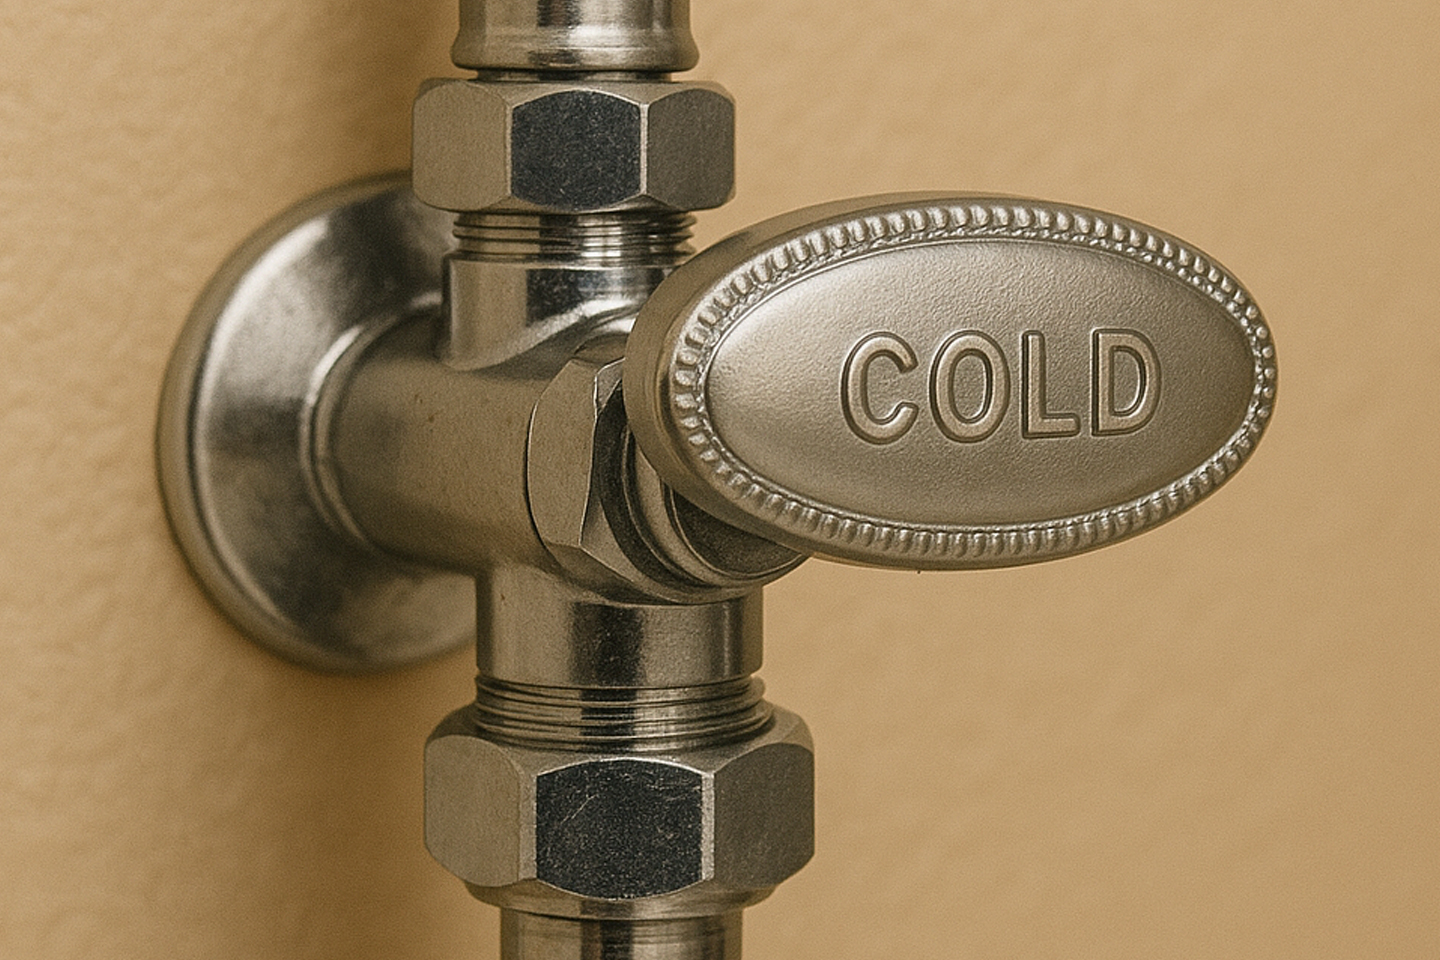
First, we assess the toilet type and plumbing condition by confirming the toilet’s compatibility with the bidet kit and check the shutoff valve’s condition. We verify water supply and electrical access by identifying the location of the shutoff valve and check if an outlet is needed for electric bidets.

Prepare the Work Area
We turn off the water supply at the shutoff valve. Flush the toilet to drain water from the tank. Lay down towels or a bucket to catch any residual water during disconnecting.

Remove the Existing Toilet Seat
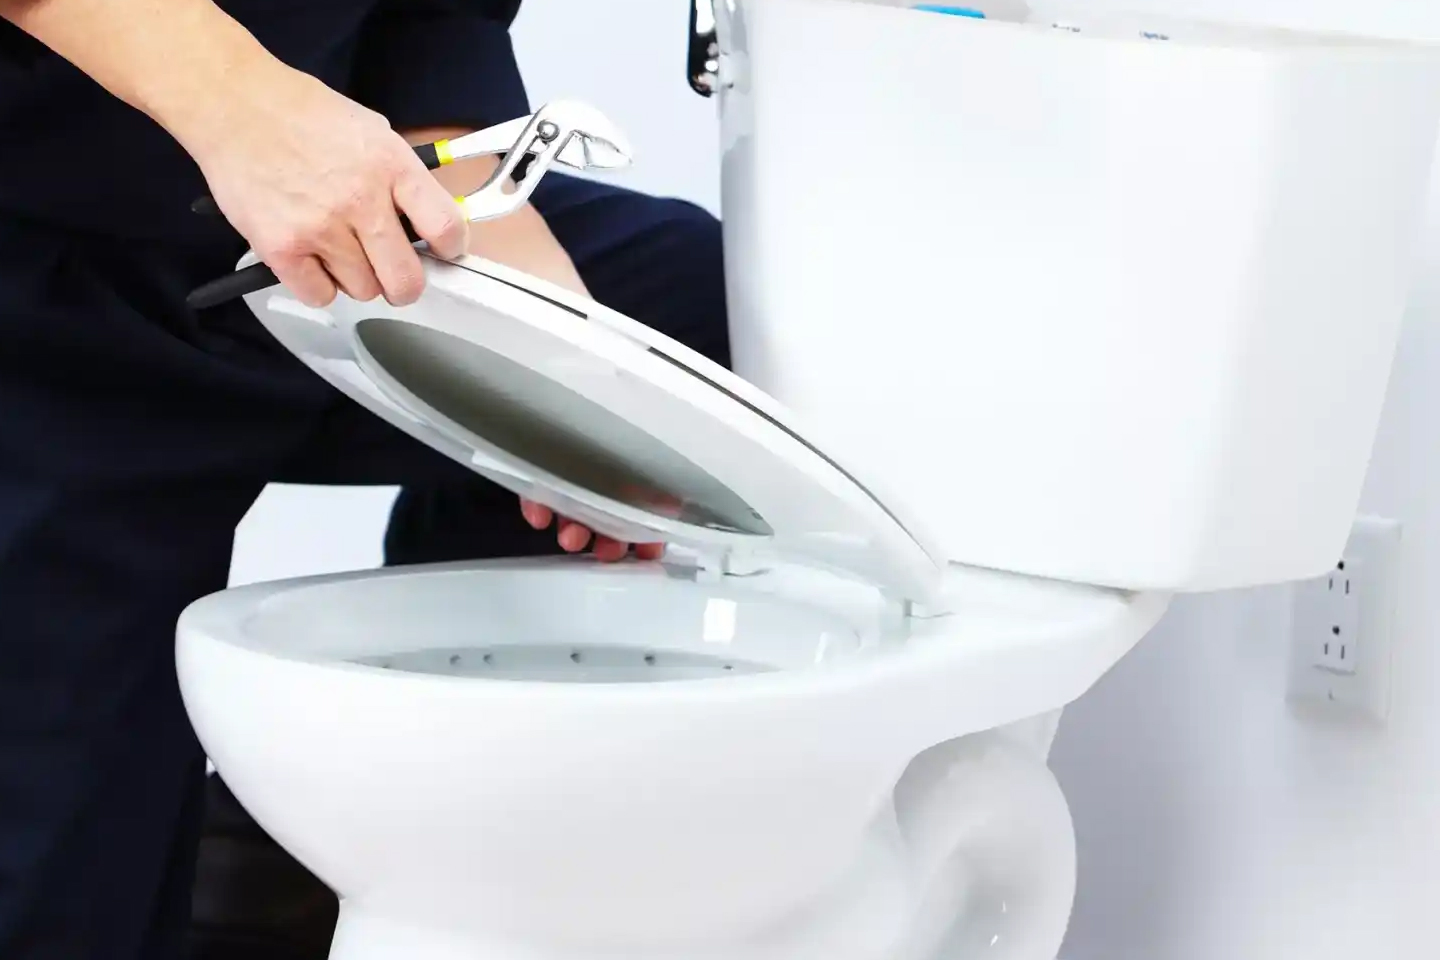
Using a screwdriver or wrench, we remove the existing toilet seat bolts and set the old seat aside.

Install the Bidet Seat or Attachment
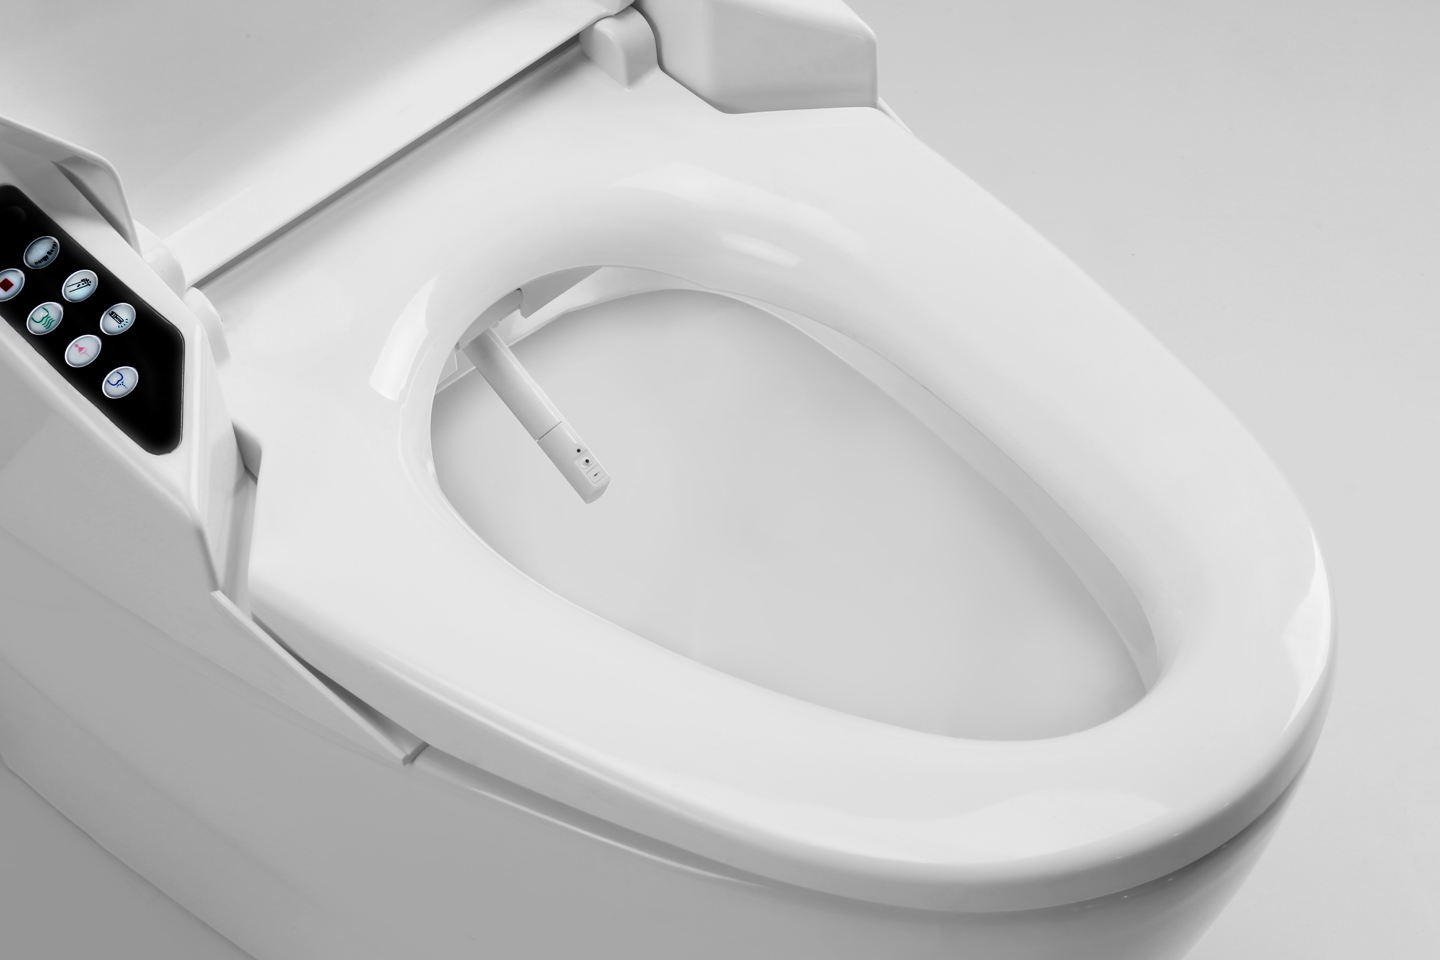
For bidet seats, we align the bidet seat mounting plate with the toilet bowl’s bolt holes and secure it tightly. For bidet attachments, we place the attachment on the toilet rim beneath the existing seat.

Connect the Water Supply and Leak Test
We install the T-valve by disconnecting the water supply hose from the toilet tank inlet. Then, we attach the T-valve to the tank’s fill valve. Connect hoses by attaching one hose from the shutoff valve to the T-valve inlet and another hose from the T-valve outlet to the bidet’s water inlet. We use plumber’s tape on threaded fittings if needed to prevent leaks. Tighten all connections securely but avoid overtightening which could damage fittings. After slowly turning on the water supply, we check for any leaks.

Connect Electrical (If Applicable)
Plug the bidet’s power cord into a GFCI outlet nearby. If no outlet exists, advise the homeowner on installing one (may require an electrician). Ensure cords are safely routed to avoid water contact.

Test the Bidet Functions
Operate the bidet controls to test water pressure, spray direction, and any other features. Confirm everything works smoothly and no leaks occur.

Clean-Up and Final Inspection
Finally, we wipe down the toilet and work area, dispose of packaging and old seat and provide the homeowner with usage instructions and maintenance tips.
