FIXTURES
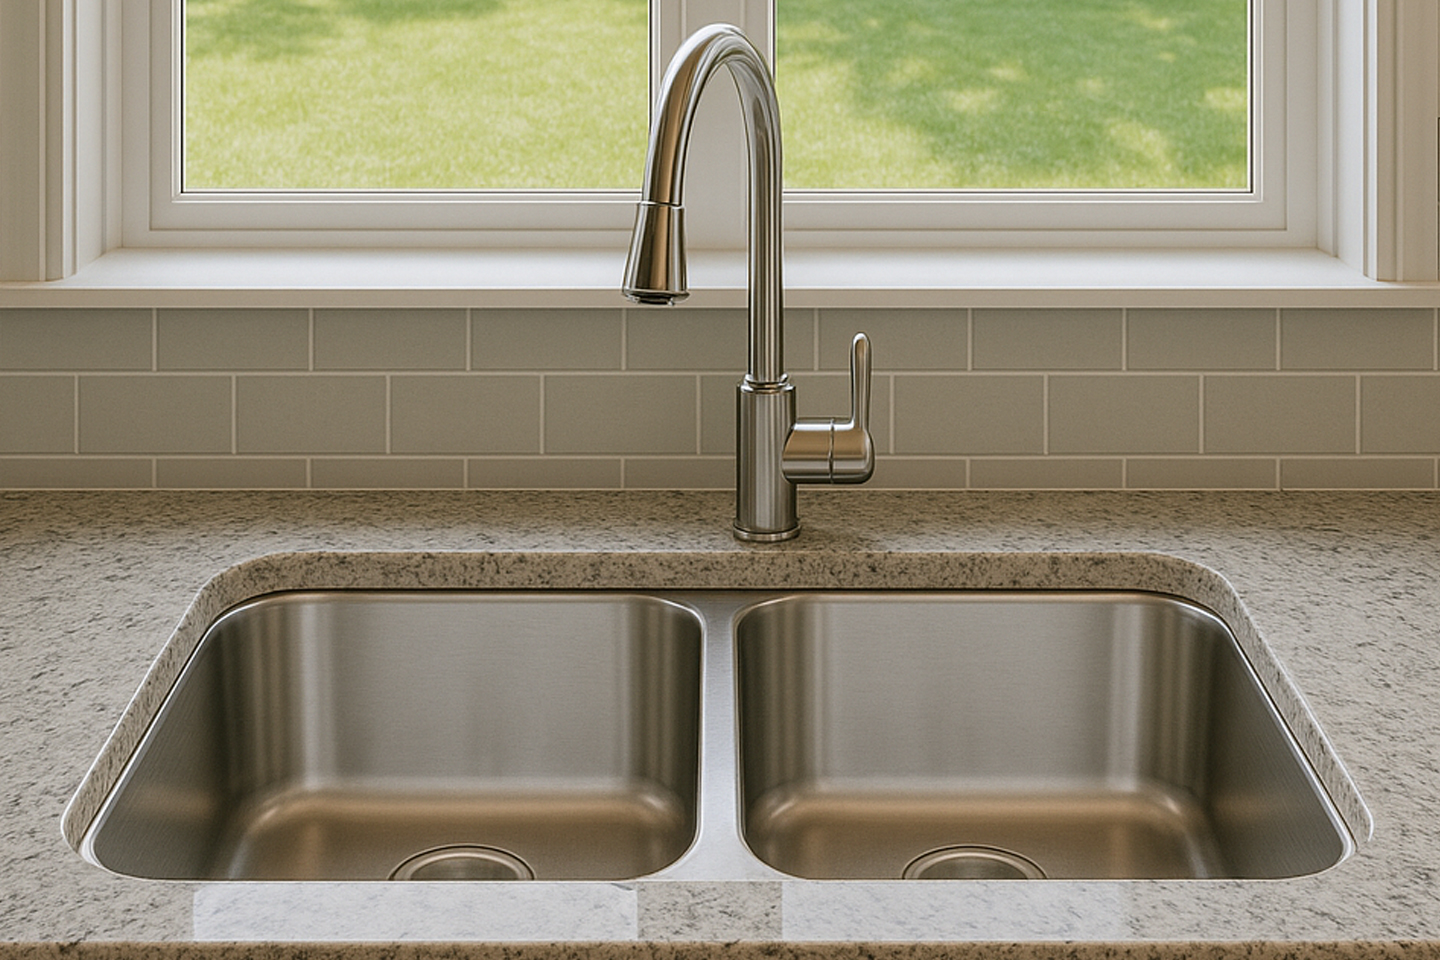
Installing a New Kitchen or Bathroom Faucet?
We've got you covered, with and Professional Service
Call for immediate, friendly and professional service today!
Contact us to install your new faucet.
We employ a systematic approach and specialized tools to ensure a secure, leak-free professional installation.
Here’s how we typically go about it:

Preparation and Faucet Removal
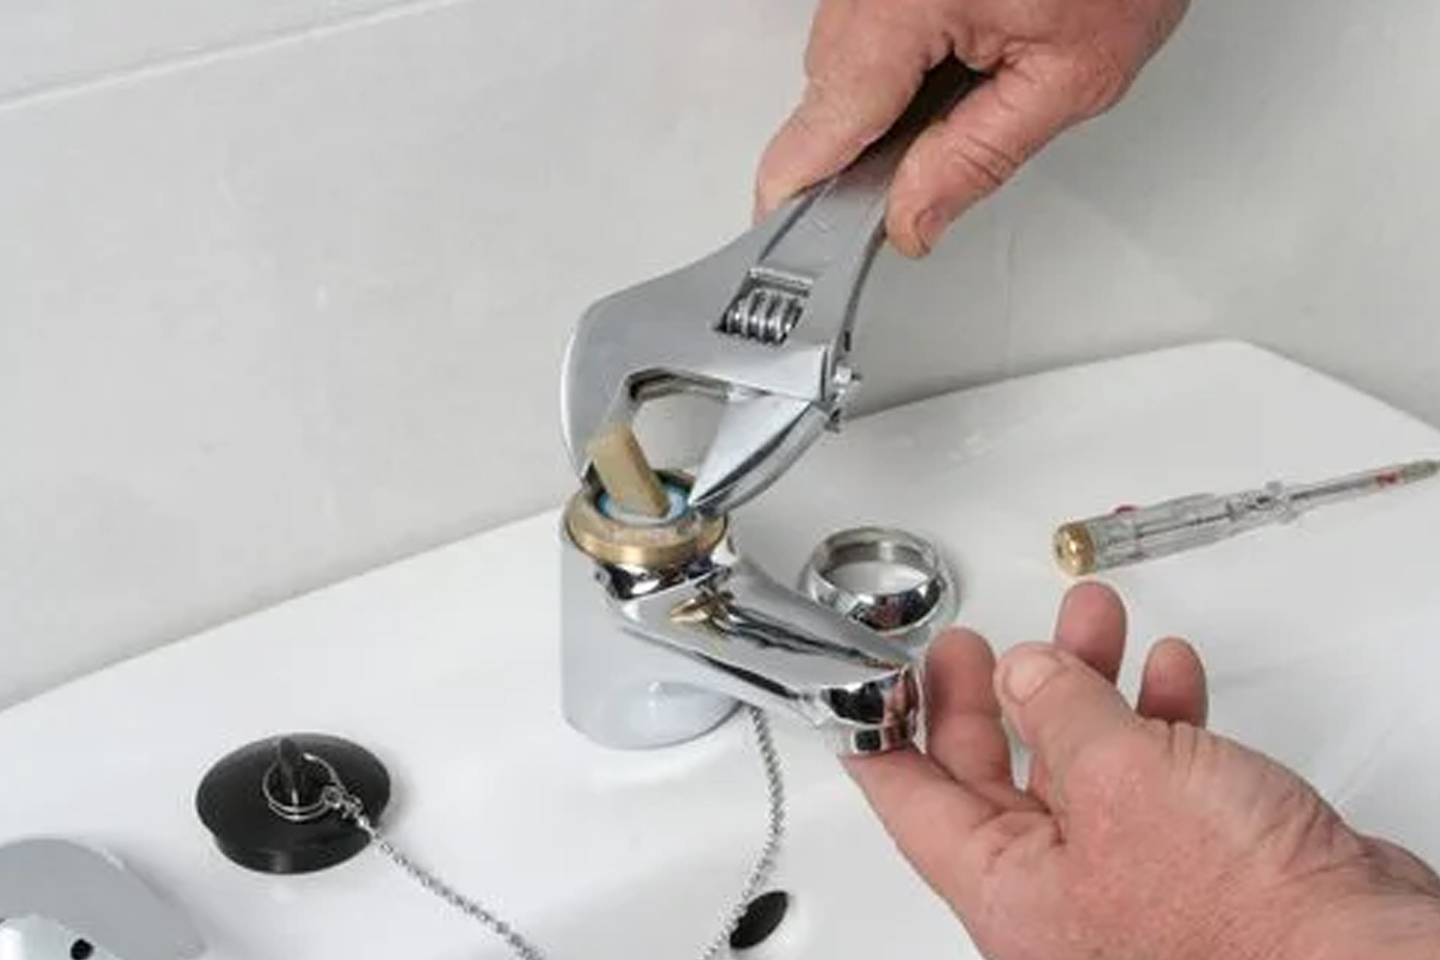
First, our pro shuts off the water supply to the faucet using the valves under the sink, then opesn the faucet to relieve pressure and drain any remaining water. Using a basin wrench, they loosen and remove the mounting nuts that secure the old faucet to the sink. The old faucet is carefully lifted out. If it’s stuck due to old sealant or corrosion, penetrating oil or gentle prying may be used. If the faucet includes a drain assembly, the plumber may also remove the old drain.

Cleaning and Inspection
The sink surface is thoroughly cleaned to remove old plumber’s putty, silicone, or mineral deposits, ensuring a smooth area for the new faucet. The plumber checks the sink and plumbing for any signs of damage or wear that could affect the new installation.

Installing the New Faucet
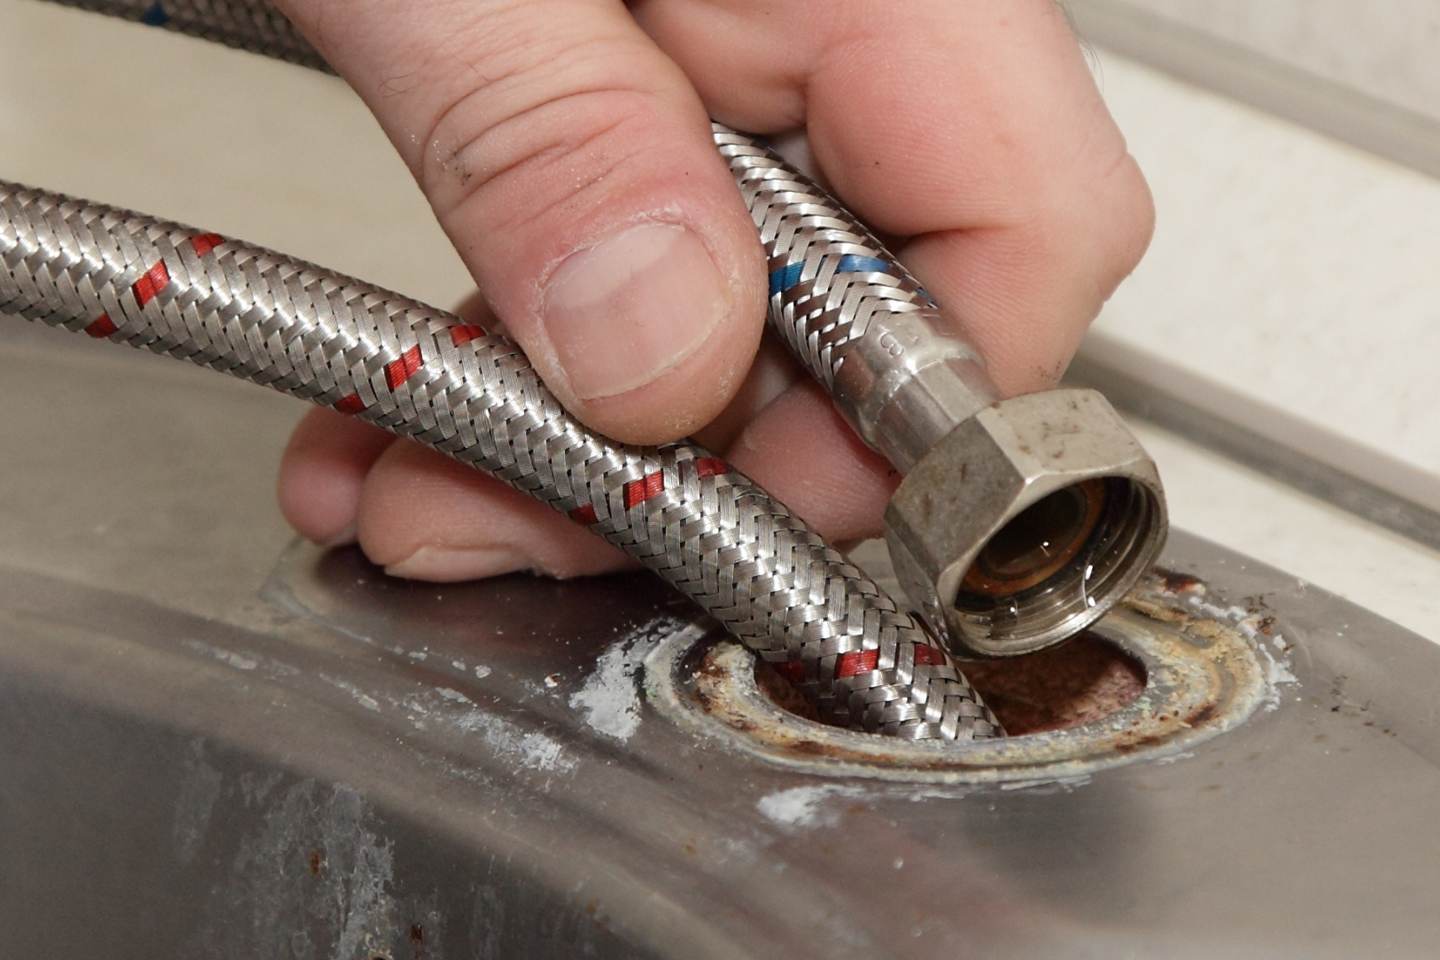
The new faucet is positioned into the sink’s mounting holes, following manufacturer instructions for alignment and fit. If required, plumber’s putty or a gasket is applied to the base to prevent leaks. From beneath the sink, mounting nuts are threaded onto the faucet tailpieces and tightened with a basin wrench—careful not to overtighten. The water supply lines are reconnected to the new faucet, using Teflon tape on threaded connections for a watertight seal.

Final Steps and Testing
The water supply is slowly turned back on, and the plumber checks all connections for leaks. The faucet is tested for proper operation and water flow, and any excess plumber’s putty is wiped away. If a new drain assembly was included, it is installed and tested for leaks as well.
